This is part 3 of a multi-part article that covers these topics:
Part 2 – Samsung Galaxy Note 3’s camera test & recommendations for best Android camera apps
Part 3 – How to take better photos (technical and artistic tips for beginner and intermediate photographers)
While writing about the Galaxy Note 3’s camera performance and camera app recommendations for part 2 of this article, I decided to also write a section on how to take better photos, so that people who are frustrated by the low quality of the photos they take can get some basic tips on photography. The tips apply to all photography and cameras, and I will cover both basic technical aspects as well as artistic tips. If you are serious about improving the quality of your photos, these tips will make a world of difference in the quality of photos you take.
Core concepts of photography’s technical aspect
Aperture – This is one of the most important controls in photography, but it is not available as a control in almost all the smartphone camera apps. It’s good to know what it is though, so I’ll give a simple explanation. The aperture is the size of the hole that allows the light through the lens and hits the sensor, and it is identified as f-stop numbers. The smaller the number, the wider/larger the aperture. So f/11 would be a small aperture, while f/2.0 would be large. Most smartphones cameras today have lenses with roughly f/2.0 to f/2.8 aperture, and they are fixed, so you don’t really have to think about aperture when using these basic cameras on most smartphones. But if you have one of the more photography-centric smartphones (such as the higher-end Nokia models), then you’ll need to understand how aperture works.
Aperture can be used to control the amount of light the sensor receives, and you can think of it as the valve that controls a water faucet, except instead of water, it’s light that’s flowing. It is also used to control the depth-of-field, with larger apertures having more shallow depth-of-field (that’s when you get the subject in focus, but the background is totally blurred), and the smaller apertures having vast/deep depth-of-view (such as the foreground, middle-ground, and background all in focus, even if it’s the mountains far way).
Sensor – Digital camera’s sensor is closely related to the aperture in some ways, because the bigger the sensor is, the more shallow the depth-of-field, while the smaller the sensor is, the more vast/deep the depth-of-field. This is why it’s very hard to achieve the blurry background look with small sensor cameras, while large sensor cameras such as DSLR’s can achieve that look easily.
In the photography world, that shallow depth-of-field with the creamy, blurred background is referred to as “bokeh.” Photographers tend to be picky about the quality of the bokeh, since some lens designs create more pleasing looking bokeh, while some create more harshly shaped bokeh.
Sensors in conjunction with resolution also determine how noisy the photos would be. The more pixels you try to cram into a sensor, the more closely packed together they are, thus generating more heat, and it’s that heat that causes the noise in the photos. This is why some camera manufacturers choose to go with lower resolution than their competitors, even though they are using same sized sensors. This is so the image quality would be better, with less noise, and to some people that is more important than resolution.
The truth is, the race for higher megapixel count is mostly a marketing gimmick, trying to impress the uninformed public with higher numbers. In reality, large majority of the consumers don’t need anywhere near that much resolution, as they are not making large prints or doing drastic cropping of their photos. But the race continues, with no end in sight. The engineers seem to be coming up various solutions to combat the noise problem though, as high ISO performance keeps on getting better, despite the tiny sensors being crammed with more and more pixels each generation. Eventually, they will hit a brick wall that is the law of physics, and will need to increase the physical size of the sensors if they want to keep pushing for more megapixels (or maybe invent a new technology).
Shutter speed – The shutter speed can be thought of as how quickly you turn on and off the valve to a water faucet, except it’s light instead of water. The longer the valve stays open, the more light pours through, and this works in conjunction with the aperture, so the bigger the aperture, the shorter the shutter speed is required to achieve desired level of exposure. If we have a bright sunny day out, and we have an aperture of f/2.8, we could achieve a proper exposure with as little as 1/1500 of a second, but if we have an aperture of f/11, it would take 1/200 to achieve the same exposure level. Once the lighting gets dark enough, the shutter speed would need to stay open much longer, sometimes staying open for as long as 1/10 or even seconds or minutes long. When the shutter speed gets slow enough, camera shake becomes a problem and you’ll have to keep the camera completely still by placing it on something solid or using a tripod. But that only takes care of camera shake and does not freeze the action of the subject, so you must make sure the shutter speed is fast enough to capture a moving subject without motion blur. I’ll give some tips on this later.
ISOÂ – ISO (International Standards Organisations) is the sensitivity level of the sensor (or in the film days, the sensitivity of the film). The higher the sensitivity, the more light is received, but the noise level is also increased. This is why when the scene is dark, the camera will raise the ISO level, and the photos will be noisier.
Photographers generally try to use as low ISO levels as possible to avoid noise in their photos, but there are times when the noise is used as part of the stylistic look, although this is more common in the film days, since the noise in film grain is more pleasing to look at than digital sensor noise.
Camera manufacturers usually set a ceiling for how high they allow the ISO to get, so the level of noise in photos won’t get past a certain threshold for the sensor they are using. For example, on the Note 3, Samsung set the highest ISO to 1000 in their default camera app, while on my Canon 5D Mark III, the ceiling is 25600, with the option to expand to 102400, due to its sensor being much larger thus allowing more latitude.
Metering – This is how the camera assess the scene’s average brightness level and determine proper level of exposure. There are various metering modes available on most cameras, such as center-weighted, matrix, spot-metering, etc, and they all behave differently. Matrix would divide up the scene into equal sections and average the entire image, giving equal importance to each area. Center-weighted would place more importance on the center area of the image. Spot-metering would use the focal point as the main reference point and allow it to override the other areas in the scene in terms of importance.
White balance – White balance is a bit tricky, because it is often not very accurate, as well as sometimes doing more harm than good, depending on the situations. Basically, under different lighting conditions, the overall color cast of the scene would change, such as having more blue when in the shade during a bright day (due to the blue from the sky bouncing its color into the shadow areas), or in typical indoor lighting the overall scene would appear quite warm, taking on an amber-colored cast, or the greenish cast of some fluorescent lights, and so on. Camera manufacturers create white balance presets to try and match the different lighting conditions, so that no matter what lighting condition you’re in, you’ll be able to achieve “accurate colors.” This sounds like a good thing, but it isn’t always so.
The white balance presets programmed by the camera manufacturers aren’t always very accurate, since they can’t account for all different colors of light bulbs that people use, or the ever-changing state of the sky and weather, so they create several most common presets and hope that they’ll cover most situations. But these presets aren’t always perfect matches for the lighting condition you are shooting in, so they might help sometimes, other times they aren’t even close to being accurate.
The other approach is auto white balance, and the camera does this by identifying what it thinks are neutral colors in a scene  (such as white, gray, or black) and then use them as reference points to tune the white balance. But this is highly unpredictable, since often there are no neutral colors in a scene, so auto white balance can often get things wrong. I’ll give some tips on using white balance later.
Simple technical tips for better photography
Using exposure metering modes effectively – Camera exposure meters use middle-gray as the standard to judge exposure levels, so it is easy to fool them. If you want to keep your photo accurate to the actual scene, then don’t allow the camera’s exposure meter to force it to be brighter or darker. For example, if a person’s wearing dark clothes and standing in front of a dark wall, with only the face being the brighter shape in the whole image, the exposure meter will think the scene is too dark and raise the brightness level so the average brightness of the image is closer to middle-gray. The opposite is also true, such as a dark skinned person wearing white clothes standing in front of a white wall–the meter would think the scene it too bright and bring down the exposure level, thus making the person’s skin too dark.
To remedy this problem, it’s best to turn up or down the exposure compensation level (known as EV, or Exposure Value), instead of doing it later with a photo-editing app. The reason is because if you try to do it later, you might not have enough exposure latitude to work with, since the camera’s meter has already overexposed or underexposed by so much that it’s no longer possible to recover the data when some areas are now just solid patches of white or black. Camera apps generally allow you to go up or down two levels of exposure, so that should be enough to compensate for most metering situations. Camera apps have thresholds they don’t allow you to go past though, so for example, if the scenes is quite dark already, lowering the exposure compensation won’t do anything because you’ve already reached the threshold.
Another solution for difficult exposures is to use spot-metering (most camera apps have this), and place the focal point at the spot that you want to use as the emphasis for exposure reference. For example, you focus on the face with the spot meter, and the exposure meter will let the face be the most important reference point, and know that the face is already bright enough, thus won’t attempt to raise the overall brightness due to the dark clothes and background.
Dealing with dynamic range limitations
There will be times when you need to choose between highlight or shadow detail, due to the limitation of dynamic range. For example, you have a scene with a bright sky with nice clouds at the top, and an interesting looking building in the shade that’s at the bottom of the scene. This is a very common situation, and you often will be forced to either expose for the sky to get the details in the clouds and lose the details in the dark building, or expose for the building and all the details in the sky are blown out into large patch of white. In situations like that, you’ll have to decide which is more important to you (the main reason you wanted to take the photo in the first place). You can try to expose for both, which might work, but sometimes you end up getting a mediocre exposure for both, instead of a great exposure for one.
There are HDR (High Dynamic Range) features you can use in many camera apps these days, and they can work, but often they require you to hold the camera very still because it’ll try to exposure multiple photos by bracketing the exposure (basically expose for the highlight and the shadow separately) and then line them up perfectly and composite them. You can create your own HDR photos by using exposure bracketing (available in some apps, and it’s pretty much the same concept, except you have to do your own compositing later), but it also requires you to keep the camera very still so the multiple exposures can line up perfectly later. And obviously, you can’t really use this approach if you are shooting moving subjects, so these approaches have limitations.
Shutter speed threshold for subject motion-blur  – Subject motion-blur is one of the main problems a lot of people face when taking photos. This is perhaps the most complex technical aspect of photography, and I’ll try to make it as easy to understand as possible. Here are the most common situations you’ll face when trying to get moving subjects in focus without motion-blur:
Subject distance and angle
In brightly lit scenes, you really don’t need to worry too much about shutter speed. The only time when it might be a concern is if you are shooting fast-moving objects such as race cars, running animals, aggressive sports, etc. To capture fast-moving subjects, here are a few tips to keep in mind (this particular tip is only for people who are using cameras with manual controls, but you can still read it if you want to learn some basics of photography).
The distance of the subject to your camera makes a difference. Let’s say you’re shooting a race car that’s traveling at 100 mph. If you are shooting it standing only about 50 feet away, you’d need to have the shutter speed be 1/4000 of a second in order to capture it clearly without motion-blur. If you’re much further away–say, about  3,000 feet, then you’d only need about 1/60. But this is assuming your lens is fixed, as the size of the subject in your image matters too. So if you are standing far away from the moving subject, but you are using a powerful telephoto zoom lens that gets pretty close to the subject, then it’s as if you are standing that close to the subject. The reverse is also true, so if you are standing relatively close to the moving subject, but you are using an ultra wide-angle lens, then you can use slower shutter speed and still get the subject in focus.
The angle makes a difference too. When shooting subjects moving across the image (perpendicular to the camera), the shutter speed needs to be the highest. Â When a subject is coming straight at you or away from you, the shutter speed can be slower. If the movement is at a diagonal angle (3/4 angle), then the shutter speed would be somewhere in the middle.
Subject speed
How fast a subject is moving determines how fast your shutter speed needs to be. If you have a person walking normally towards or away from the camera, you’d need only about 1/30, but if the person is walking across the image (perpendicular to the camera), then you’d need 1/125. If the person is walking diagonally (3/4 angle) from the camera, then around 1/60 will work.
If the person’s running, then you’d need 1/250, 1/1000, and 1/500 respectively.
A car moving at around 60mph would require around 1/500, 1/2000, and 1/1000 respectively.
One technique you can use to reduce motion-blur is to pan the camera to match the speed of the subject. This takes some practice, but once you learn how to do it, your chances of capturing moving subjects without excessive motion-blur will be much better.
Lighting Condition
Lighting condition is another factor related to shutter speed, and this is the one that concerns most people. Once the lighting drops below the level of a brightly lit daylight scene, you’ll start to encounter more and more problems with motion-blur as day progresses into night. “Why not just use the flash?” you might ask. Because it actually takes a lot of skill to use the flash properly and not have your photos look washed out, sterile, and devoid of ambiance. Also, bad flash photography is the number one culprit in photos that look horrible. I will give you guys tips on how to use flash properly later, so for now, we’ll look at shutter speed without considering flash.
The first sign of trouble with motion-blur is when the sky is fairly overcast or the whole scene is in the shade, since in situations like those you might get shutter speeds as slow as 1/60 or even 1/25, despite it being daylight still. For those with more capable cameras, you can use a larger aperture or raise the ISO, or switch to shutter-priority mode or full manual mode and set the shutter speed you want. For those of you with point & shoot cameras (most smartphone cameras fall in this category), you can try and do the same if your camera and app allow you to make those changes. But if not, or if your relevant settings are already maxed out, and the shutter speed is still too low to freeze your subjects, then there really isn’t much you can do about it.
In truly low-light situations such as dimly lit restaurants, living rooms, bedrooms, outdoors at night, etc, is when things get really tricky, because once the shutter speed drops down to the 1/25 to 1/10 range is when you’ll get lots of motion-blur in the moving subjects. This problem is compounded by the fact that camera manufacturers program their automatic modes to use the slowest shutter speed allowed in order to stay in a lower ISO range, thus resulting in cleaner images with less noise. This is something you really need to remember. Automatic modes in cameras are optimized for image quality, not capturing moving subjects, and they always assume the subject is not moving. Even the image-stabilization features are there only to counter camera shake, and does nothing for moving subjects. That is why automatic modes often slow the shutter speed down to about 1/15 or 1/10 when it detects low lighting levels.
So what to do when you need to shoot moving subjects in dimly lit environments? In some ways, this is a situation where you can’t have your cake and eat it too–at least until one day our technological advances allow extremely high ISO settings that are relatively low in noise. There is the option to use flash as the last resort, and I’ll give you tips on this later.
One thing I have noticed that might be of some help, is that often in low-light situations, recorded videos “feel” more comfortable to view than still photos, because the motion-blur happening in each frame of the video is far less noticeable than in single images. Basically, video is just a sequence of still images playing back at a set frame rate per second (such as 24, 30, 50, 60, etc), and when a subject is blurred due to motion, it’s really not that different from when we look at fast moving subjects in real life. Take your hand and move it back and forth quickly in front of you–see how it blurs? But that doesn’t really bother you because you expect it to. Some of you might have noticed that when you pause a movie during a scene when the subject is moving at moderate or fast speeds in low-light scenes, the individual frames of the shot have really severe motion blur, yet when you are watching the movie normally, you don’t really notice it. But when you look at a still image, the blurred motion becomes glaringly obvious because it isn’t moving like you expect it to.
Another advantage to shooting video instead of still images, is that because you are creating anywhere from 24 to 60 images per second (depending on your camera and setting), your likelihood of capturing at least a few frames that isn’t motion-blurred is much higher, and you can then do a screen-capture from your video and use it as a still photo. The Note 3 can shoot up to 4K resolution, so you can get nice quality stills from your videos.
Camera Shake
Camera shake is a problem related to slower shutter speed, but is separate from subject motion-blur.  Camera shake is solely due to the person holding the camera not being still enough. The general rule-of-thumb for photographers is to make sure your shutter speed is faster than your lens’s focal length in order to prevent camera shake. For example, the Note 3’s lens is 31mm (35mm equivalent), so you want to make sure your shutter speed is faster than than 1/30. Of course, this only for unintentional camera shake, and if you are running around or inside a vibrating vehicle while taking photos, then even adhering to that general rule won’t help.
Some cameras have image stabilization features, but they are not 100% effective, and since smartphone cameras often don’t allow you to change the shutter speed, you’d have to do other things to eliminate camera shake. This is where technique comes into play.
When shooting, you want to brace your shooting arms as much as you can, such as tucking in your elbows so they rest against more stable body parts and act as anchors, or resting your shooting hand or camera against a wall or furniture. If you don’t mind using a tripod, you can use one, or even a monopod, but a lot of people don’t like to carry one around, so it’s a subjective choice.
Using ISO setting effectively – The tip for using ISO is very simple: Use the lowest ISO setting you can get away with, until the shutter speed is simply too slow or the image is too dark, then raise the ISO level until you get the correct exposure, or the noise level is beyond what you’re willing to accept or deal with in post-processing. It is often a matter of compromise, and it’s up to you where the threshold is.
My general approach is to let shutter speed be the first priority in my decision, because if there’s too much motion-blur, then the shots are wasted anyway. My second priority is exposure level. Camera exposure meters too often try to raise the overall brightness of a scene when it is supposed to be dim and full of ambiance, so in many cases, it’s fine to drop the ISO level down one or two levels and get closer to the actual scene in front of you. Noise level is always the last on my mind, because today’s camera have vastly superior high ISO performance compared to the cameras I used when I started photography, and today’s photo-editing software also have far superior noise-removal algorithms. When in moderation, I don’t mind the somewhat “impressionistic oil painting” look that sometimes can result from too much noise-removal, since I’m a huge fan of impressionism influenced painters like John Singer Sargent, Anders Zorn, Joaquin Sorolla, Richard Schmid, etc, but for mission-critical shoots, that kind of heavy-handed processing would be unacceptable.
The formula for best image quality vs. freezing a moving subject – The simple formula for best image quality vs freezing a moving subject are:
Best image quality = Lowest ISO setting you can get away with, keeping the camera as still as possible, having the subject be as still as possible.
Freezing a moving subject = Fast shutter speed that matches the speed/distance/trajectory angle of the subject, highest ISO you’re willing to use to maintain the image quality you want, panning the camera to match the subject’s movement direction/speed, and using flash (if you don’t mind what that entails–I’ll elaborate on this later),
When to use destructive processing night modes – Some of the night modes available in cameras or apps can be very destructive, drastically changing the photo too much. I avoid them completely, since I much prefer to do my own post-processing, knowing that I’ll do a better job at making the photos look more natural. But for those of you who don’t want to take the time to do the post-processing, there ares times when the night modes can save your ass, such as in scenes that are really dark, and it’s critical to capture the image (whether for legal evidence, record keeping, or other important situations). In such circumstances, having heavy-handed post-processing is better than not having anything at all.
Watch out for wide-angle distortion – Many fixed lens camera have wide angle lenses, and some zoom lenses also get pretty wide on the short end of the lens (24mm-35mm is considered wide, 12mm-21mm is  considered ultra-wide, and anything wider is considered fisheye). It’s important to know that wide-angles distort the images, and the closer you get to the edge of the image, the more distortion there is, stretching everything out. This can be used as a creative tool, or it can cause problems when it’s unintentional.
For creative uses, some people would shoot the person from an angle that puts the legs closer to the camera and near the edge of the frame, so that the distortion stretches out the legs and make them look longer. You see this a lot in fashion and celebrity photography. You also see this in some men’s magazines and videos, where the distortion is used to make certain female body parts appear much bigger than they really are.
The opposite is true, so if you shoot with the head closer to the camera and close to the edge of the frame, and the legs further away from the camera, the head will appear larger and stretched out while the legs will appear shorter than normal. You see this a lot in paparazzi red carpet photography, because often the photographers are fighting for shooting positions and they don’t have time or room to squat or kneel down and get a neutral angle on the celebrity, thus they are forced to shoot from the height of their face. If the photographer is tall and the celebrity is short, this distortion becomes even more drastic, making the celebrity appear really squat and short.
Focus on high contrast areas – Whenever you are having trouble with the autofocus, try to focus on a spot that has the highest contrast and sharpest detail. If the entire subject is low contrast (such as being back-lit), then use the subject’s silhouette contour to focus, or even other objects that are in the same focal plane as the subject. If your camera has manual focus, then switch to that instead of keep trying to get the autofocus to lock and wasting precious time and losing that special moment you’re trying to capture.
Cover your ass and take lots of shots – One thing most people who aren’t photographers don’t realize, is that very often a tricky shot will require many tried to get right. Even with the test images I shot for the Note 3 comparison tests in part 2 of this article, some required at least a dozen tries to get rid of the camera shake blur or the framing just right. If subjects that don’t move can be that hard to shoot, then moving subjects are far more difficult, since you have to try to capture the right moment with the most expressive body language and facial expression, with the best interaction with the lighting while having the best composition, as well as have the most optimal exposure and shutter speed, and the least amount of camera shake. This is why professional photographers often have to machine gun the shutter and fire off lots of shots–it is to ensure they have covered their ass by increasing their chances of getting the perfect shot.
Not all shots are that difficult, since some really are a breeze–just casually snap and you’re done. But if you are not getting the shots you want, then keep going and try different settings, hold the camera in a different way, shoot the subject in different angles, poses and expressions, and move around and try other camera angles. The more you shoot, the more likely you’ll get good shots. We have lots of storage space with today’s memory cards, so no need to try and conserve space.
Now, some tips that are focused on the artistic side instead of technical.
Simple artistic tips for photography
Get more creative with composition and camera angles –  Composition is one of the most important aspects of good photography. This very important foundation of visual art is what makes up the most basic level of visual design–the shapes, their arrangement, where the main area of interest is, how the rest of the image complement/counterbalances the main focal areas, and so on.
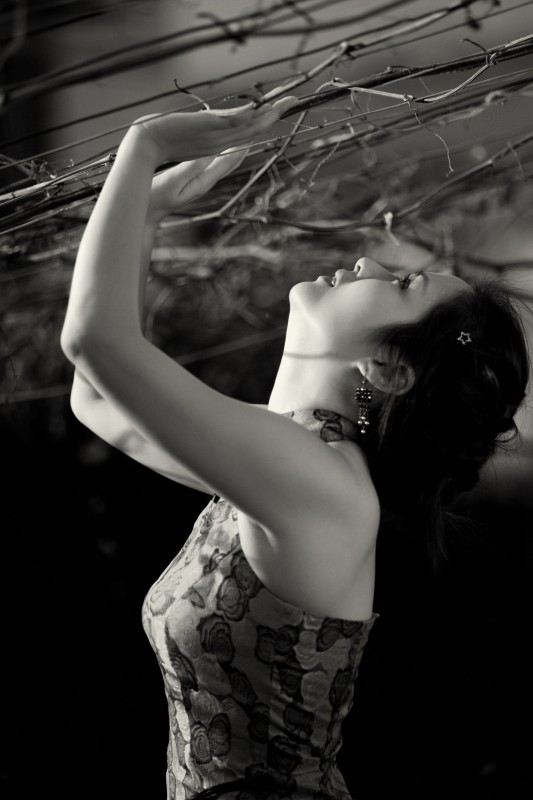
There are lots of other ways to compose a shot than just having the subject smack in the middle of the frame. Here are a couple of examples:
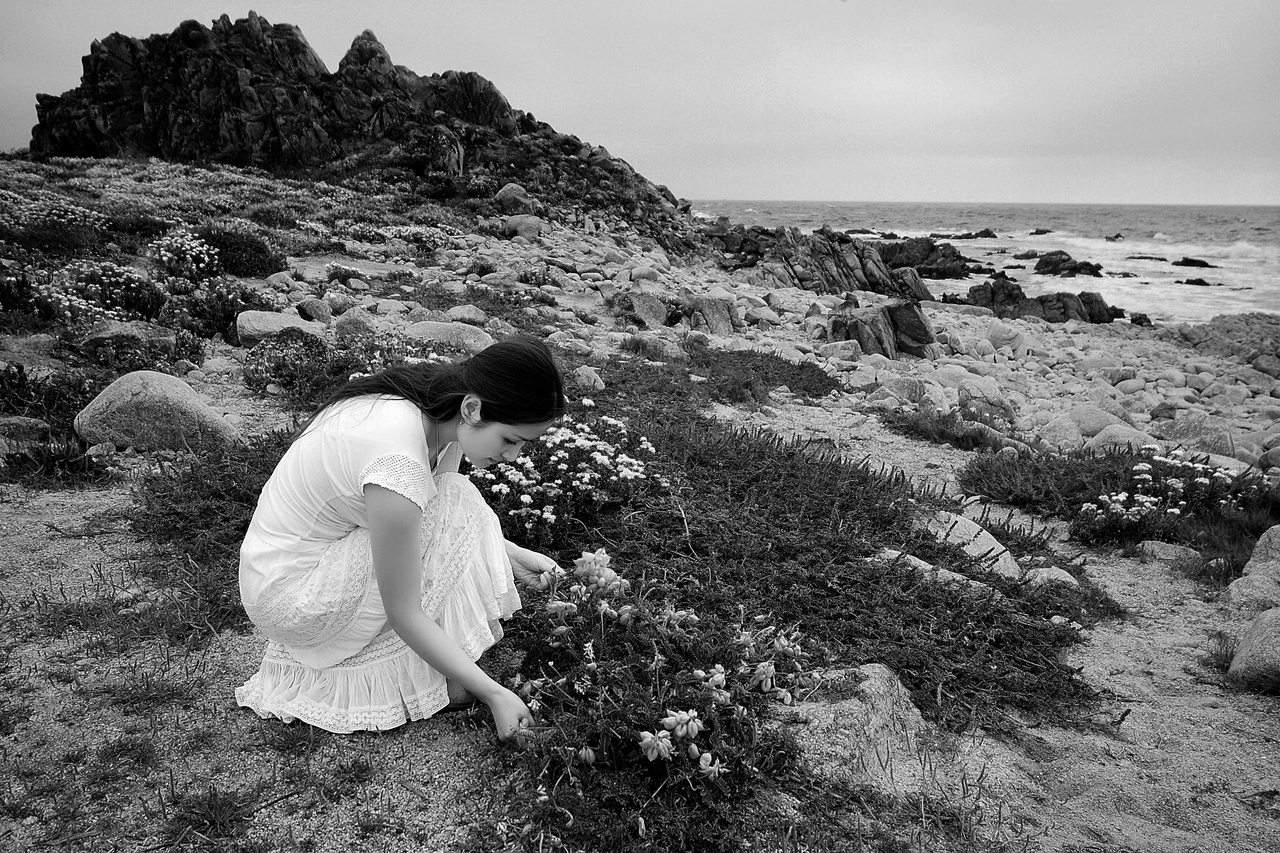
There are a few classic composition guidelines that you can use, such as rule-of-thirds, golden ratio/spiral, four quadrants, diagonal triangles, etc, and they are all tried and true guidelines that’s the result of hundreds of years of collective visual art experience, and some of these have been implemented into camera apps as “composition grids.”
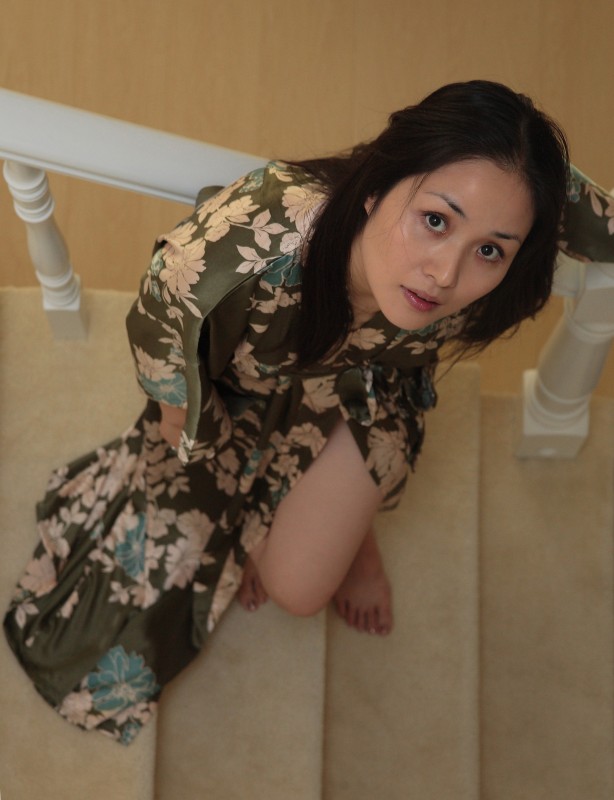
Camera angle is another important factor in composition. Straight-on camera angles aren’t the only choice you have. Try shooting from bird’s eye view (from top pointing down), worm’s eye view (from the bottom pointing up), or tilt the camera for a more dynamic sense of composition.
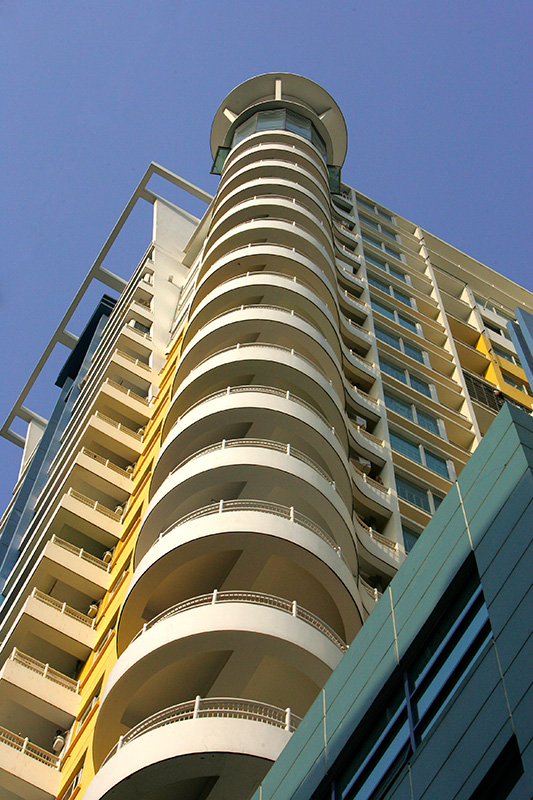
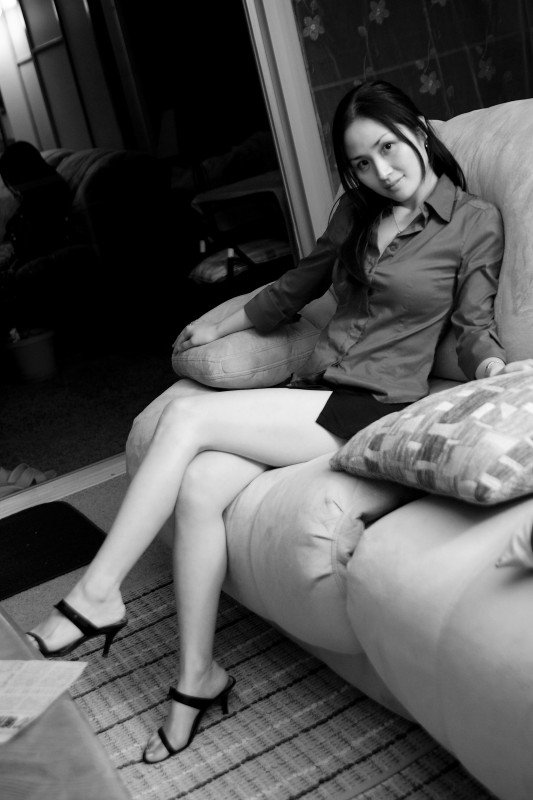
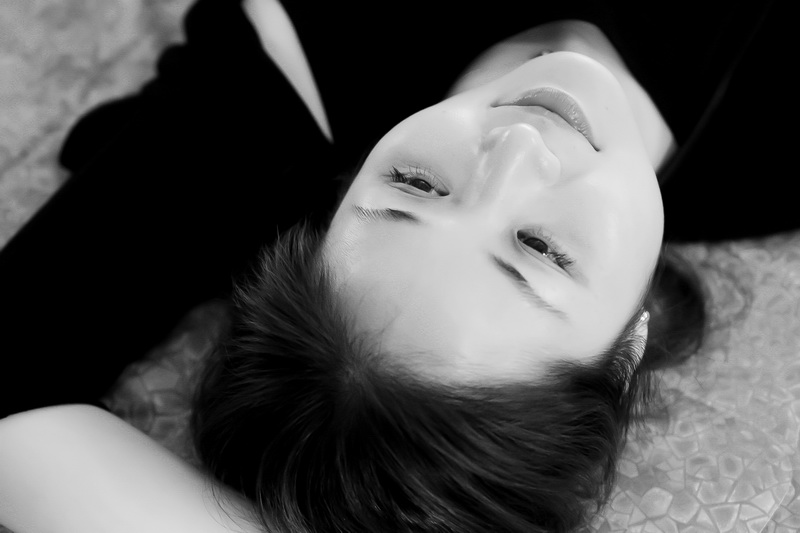
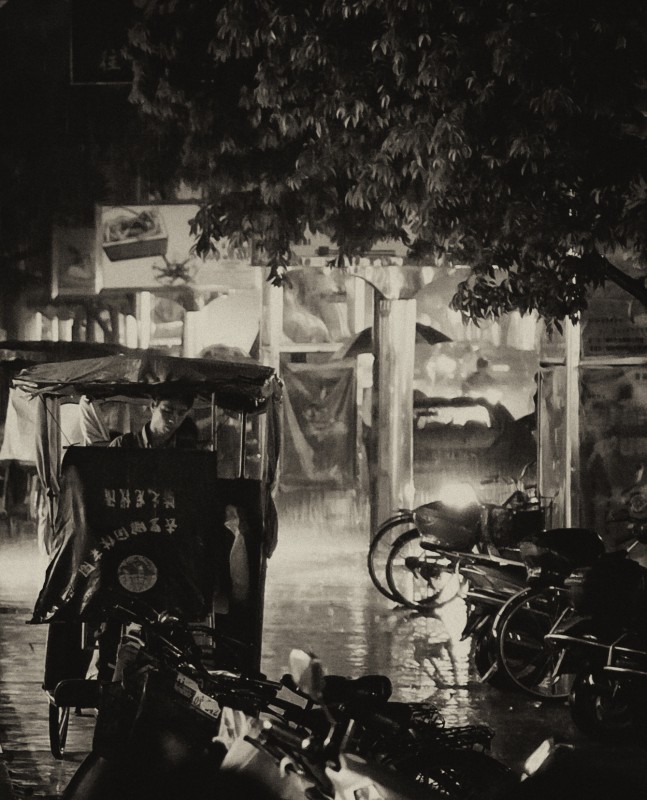
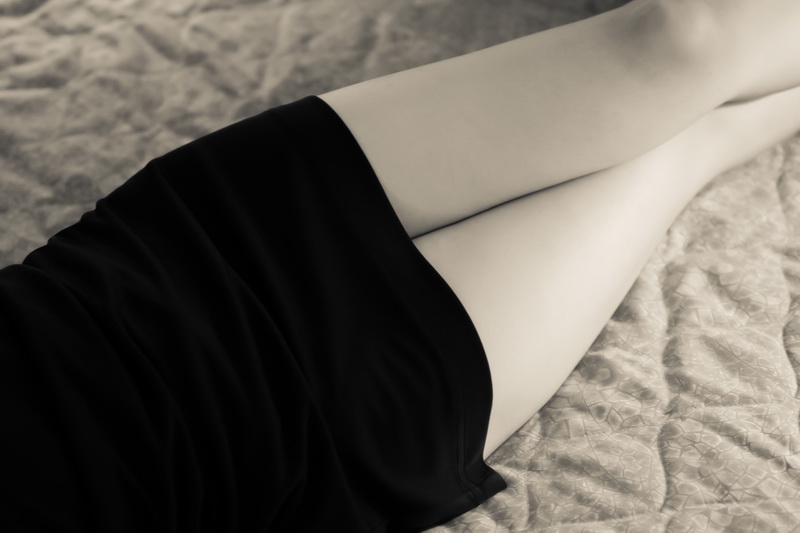
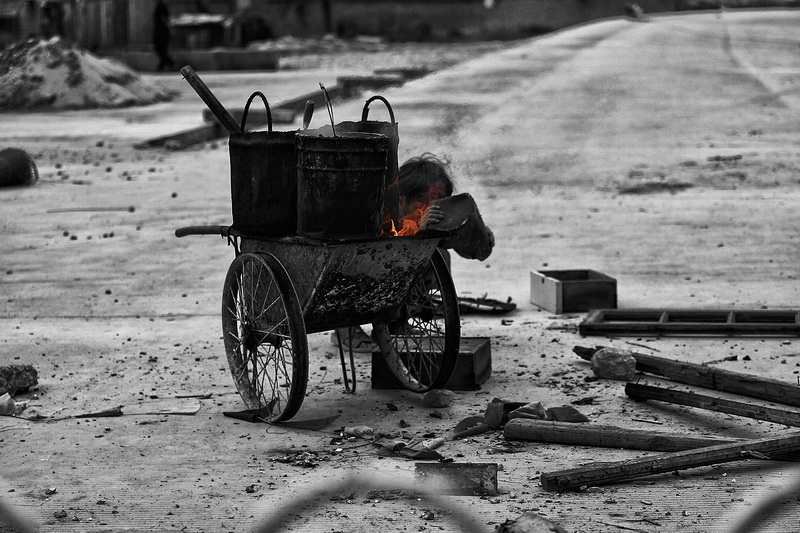
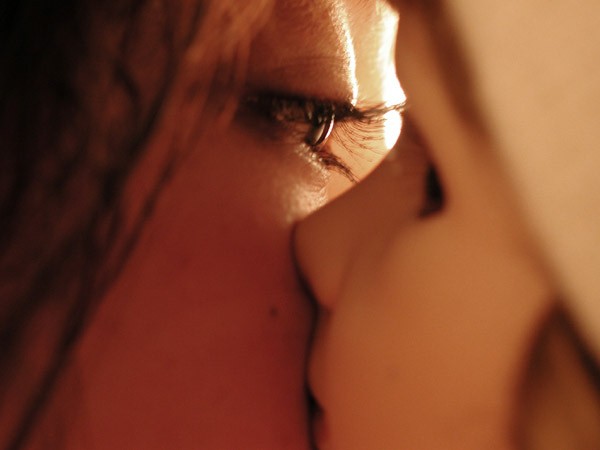
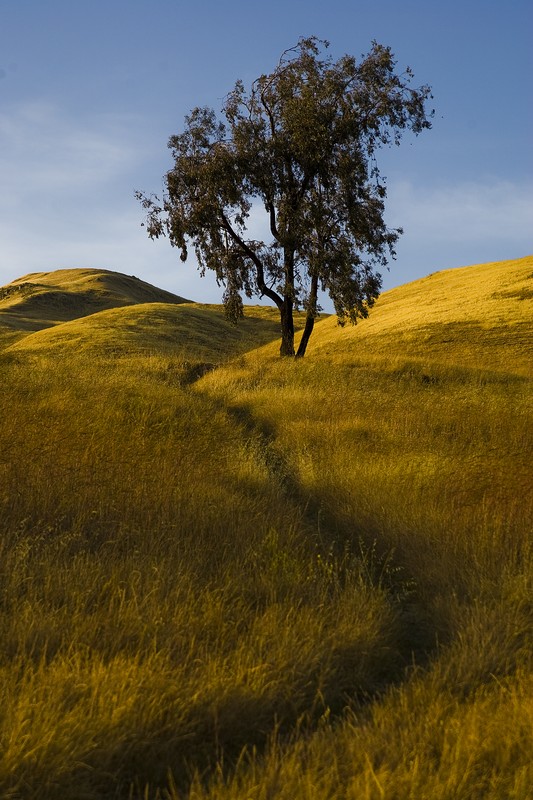
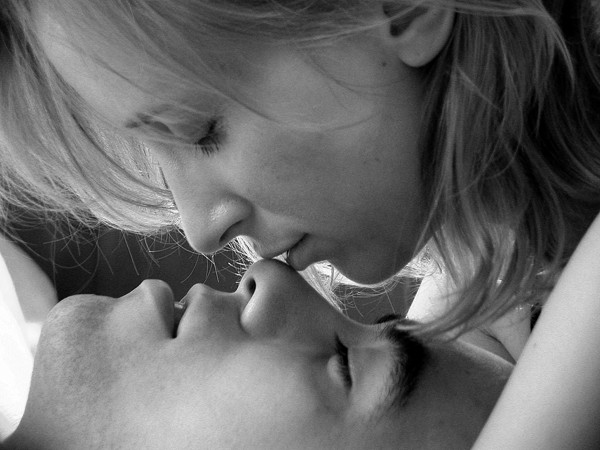
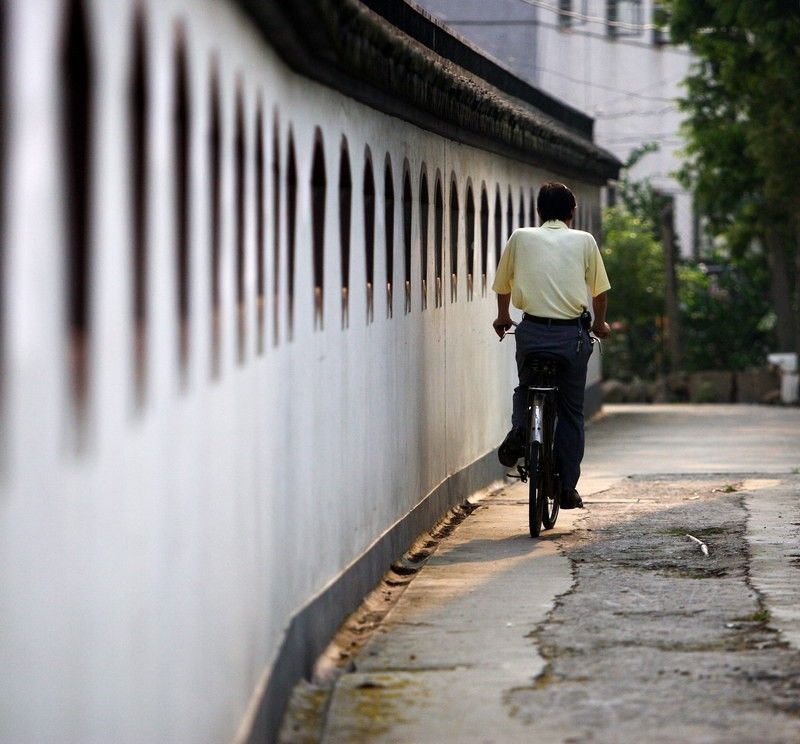
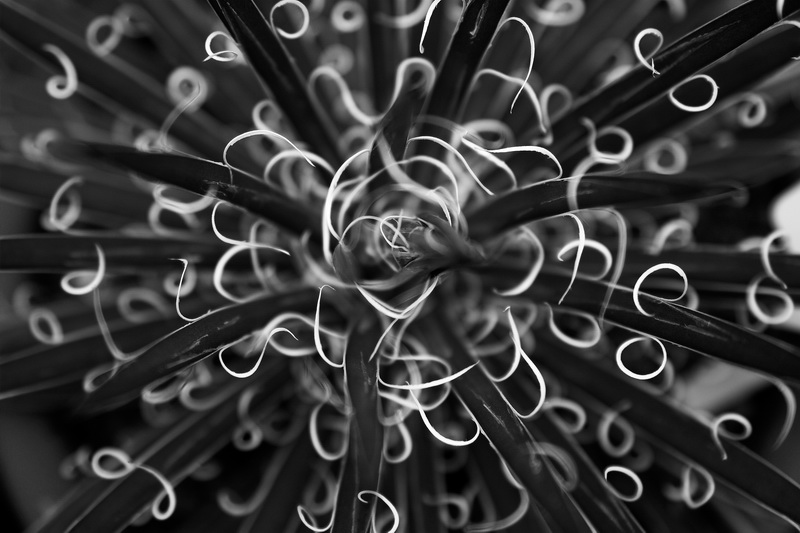
There are other approaches to composition you can try, such as emphasizing repeating patterns in a scene (such as rows and rows of boats at the pier), identifying a clear visual path the leads the eyes through the image (such a winding road leading into the foggy distance), emphasizing the textures in a scene (such as the delicate fuzz on a peach, an elderly person’s wrinkled skin, or the smoothness of a high-tech gadget), focusing on just one isolated area of a subject for emphasis, meaning, or an abstraction, or capturing the overall lighting effect without placing emphasis on any specific subjects. Here are some examples demonstrating those various approaches:
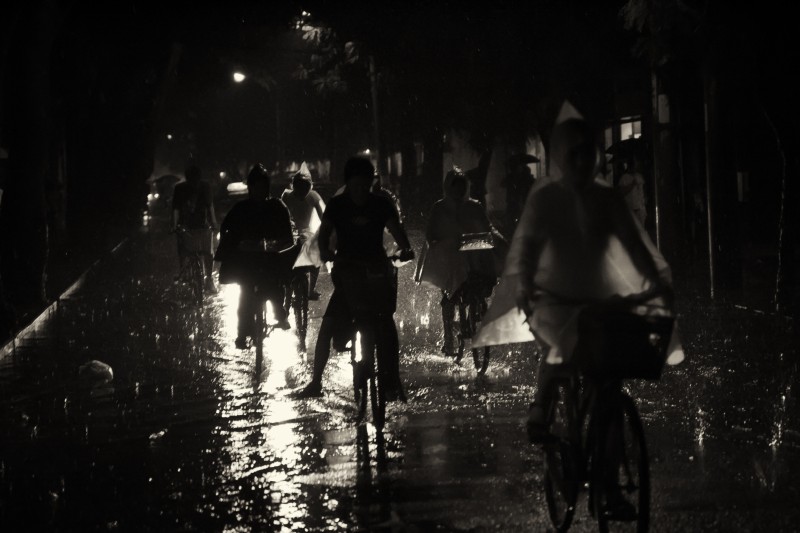

Camera and subject positioning makes a world of difference – Often, within the same scene and shooting the same subject, if you simply rotated the subject slightly so the light falls on him/her differently, the photo is instantly improved dramatically. Same thing with the camera’s position relative to the light source and the subject. So next time when you shoot, try moving around the scene to find the best angle of lighting as well as the most flattering angle for your subject, and move/rotate the subject to a more ideal spot/angle. Sometimes these simple changes makes the biggest difference in how good your photos will turn out.
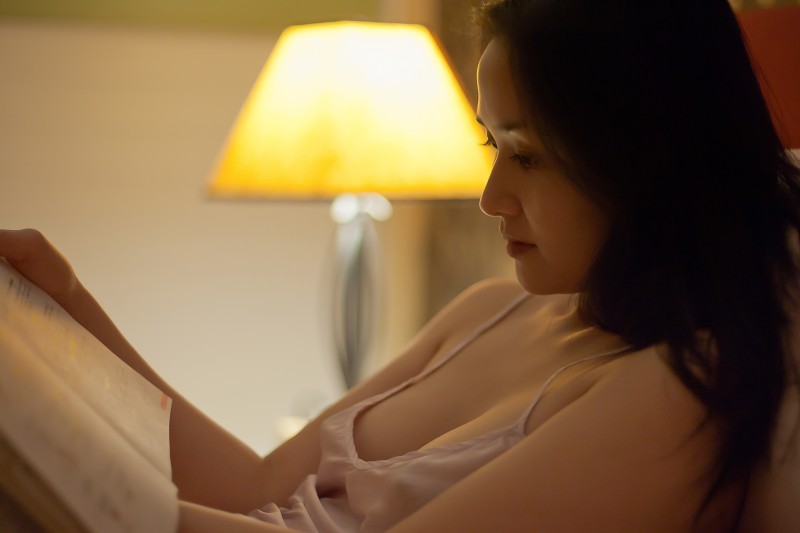
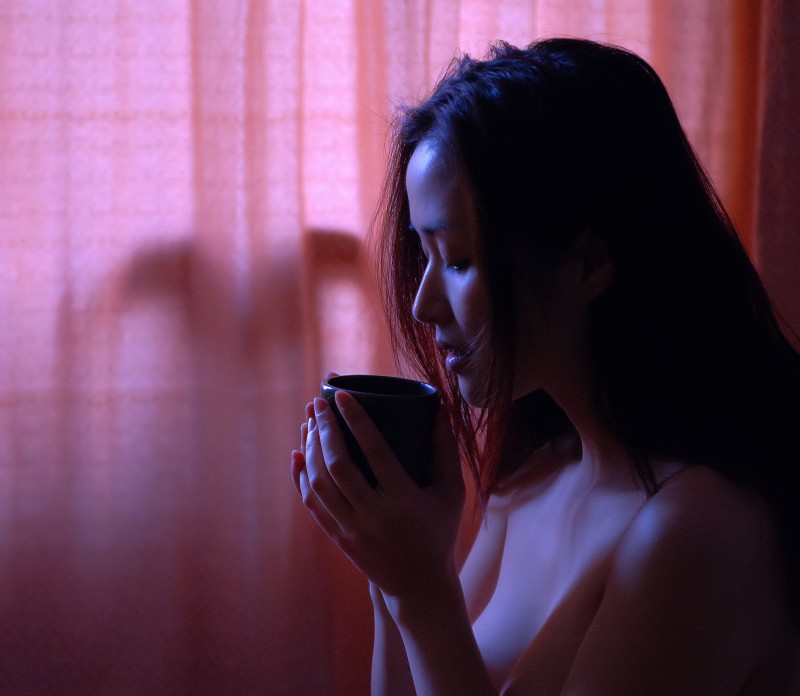
Sometimes darker is okay – Some people mistakenly think that in order to take good photos, they must blast enough bright light at the subject (including blasting the flash at the subject), and that is often the worst thing you can do to your photos. There are often times when a scene’s moody ambiance is what makes it special, so pay attention to why a scene is captivating and then decide if you want to make it brighter or shoot it as is. Here are a few examples where the ambiance would have been destroyed if I turned on more lights or blasted the flash:
Candid is often more natural than blatantly posed –  Some people automatically think that when taking pictures, the subject has to look at the camera and say “cheese” or at least acknowledge that the camera is there. Why? There are times you want to capture the person being natural, lost in thought, or concentrating on something, or simply just being relaxed. There’s no rule saying the subject must look into the camera and smile or make a gesture. So next time, observe your subject through the lens and try some candid photography. Tell the subject, “Just ignore me and do whatever you were doing.” You’d be surprised at the results you get.
You don’t always want accurate white balance – There are times when you don’t want accurate white balance, because it kills the ambiance in your photos.  Let’s say we’re shooting a scene at a dimly-lit romantic restaurant with lots of candles. The overall ambiance is a very warm lighting with amber color cast, and that is what’s unique and beautiful about the scene. If we tried to white balance for color accuracy, then that amber color cast would be destroyed, and the scene would simply looks like neutral-colored dim lights, instead of the romantic warm glow that we actually want.
I generally leave the white balance on automatic, and then adjust it during post-processing. If you don’t want to do that, you can try and pick the white balance mode that matches how the scene actually looks to you before you start shooting, but that’s not ideal when you need to capture something that’s spur-of-the-moment.
Don’t abuse post-processing/filter effects - While how much post-processing one should do is a matter of subjective taste, there are some simple guidelines that I think helps one make the right decisions:
1) Are you trying to make an otherwise uninteresting image look good enough to share? Is that image even worth you spending the time to force into something worthwhile? Maybe making an effort to take better photos is a better use of your time and energy?
2)Â If the only thing that’s interesting about your photo is the filter you used or the post-processing you did, then what are you really sharing with the world? It’s not the photo itself anymore, is it?
3) Have you misidentified what is appealing about your photo in the first place and have destroyed those qualities with heavy-handed post-processing?
4) Are you homogenizing all your photos with the same types of filters, thus killing their individuality?
5) Ideally, you want to enhance what’s already interesting about the photo, accentuating qualities that are already there, instead of fabricating qualities that never existed in the photo in the first place.
6) To develop artistic sensibility, often look at the work of respected photographers around the world and get a feel for the amount of post-processing they do, and use that as a general gauge of good taste. Although there are stylistic differences among them, there’s a threshold they never cross, having developed their artistic eye and aesthetic sensibility to a level that others admire and respect.
Stop using flash, or use it wisely – I mentioned previously that flash is the number one culprit in bad photography. The reason is because people abuse flash and don’t know how to make it look more natural. The typical flash photography has a sterile, cold, washed out look that’s unnatural and unflattering, and with such a tiny and bright light source coming straight from the front of the subject, it also creates that “deer caught in the headlight look” while creating harsh shadows on and around the subjects.
Good photographers know how to use flash so that you can’t even tell flash was used, and this is much easier to achieve with cameras that have rotatable flash heads, because the photographer can bounce the flash off of nearby surfaces, creating a soft, diffused lighting that blends with the ambient lighting, thus looking very natural. There are also flash diffuser/bouncer attachments you can use to soften the flash of your camera, as well as combine them with the bouncing technique.
Here are a few examples of what that technique can achieve:
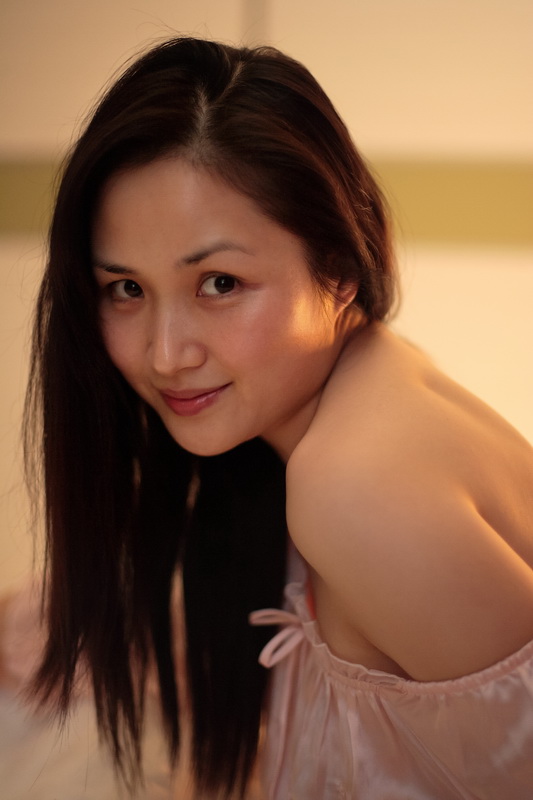
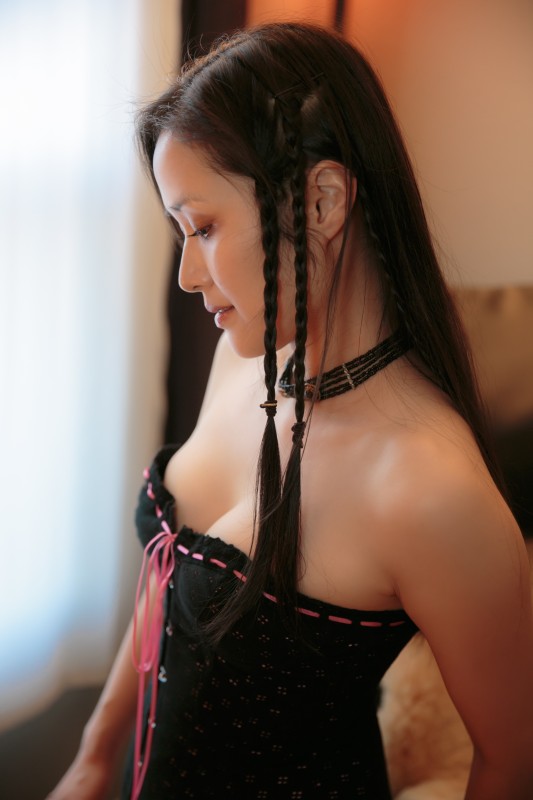

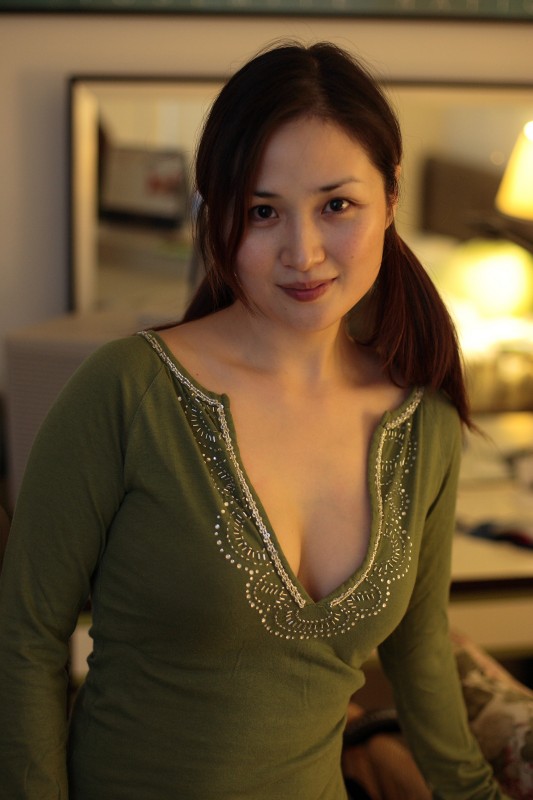
In the above examples, I either used flash diffuser/bouncer and pointed directly at the subject, then dialed the flash exposure compensation  (the power level of the flash) down a stop or two so it blends with the ambient lighting better and not appear so dominating, or I rotated/tilted the flash head so the flash is bouncing off a nearby wall or ceiling.
(BTW, the flash diffuser/bouncers I have are the Wing Light, Demb Flash Diffuser, and Lightshpere. Wing Light gives me the best result, but it’s also the most cumbersome to use due to the clunky velcro design.)
Flash can also be used to fill in the harsh, unflattering shadows caused by directional bright lights, or balance out back-lit subjects, so don’t think of flash as solely for illuminating dark scenes. For example, your subject is standing under a bright sun, and there are dark shadows cast from the brow ridge, nose, mouth, and chin, creating a harsh, contrasty look. You can use flash to “fill” in those dark shadows and balance them out, creating a more even lighting. If your subject is back-lit and you’re getting just a dark silhouette with a bright rim, you can also use flash to light the front of the subject.
Here are a couple of examples of fill flash, used to counter these situations:
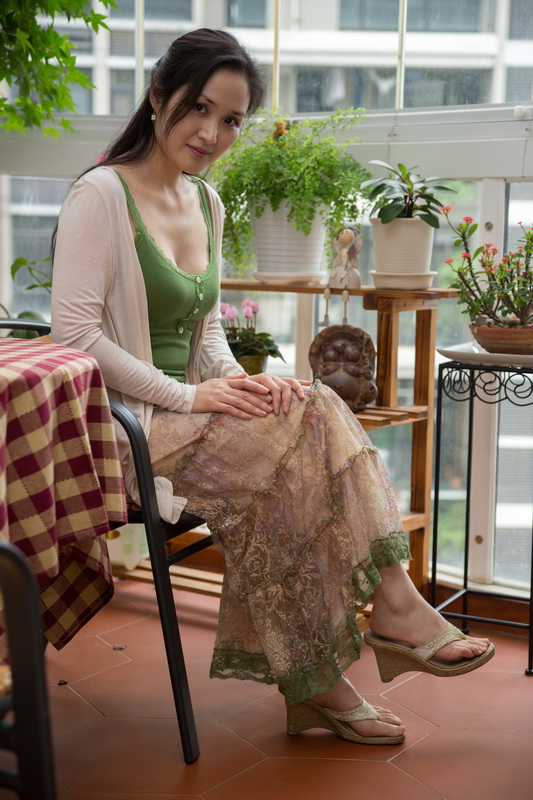
Without the fill flash, these photos would have either just dark figures lost in shadow, or really contrasty shadows that obscure the subjects’ details.
For typical point & shoot cameras, it’s not as easy to have full control over the flash, but some apps do allow you to adjust the flash beyond the bare minimum options of on and off or automatic. Slow sync is probably the most important one, which allows the shutter speed to stay open longer as if the flash isn’t there, thus gathering more ambient light for a more natural look, while the flash helps to freeze/illuminate the subject. This is important because if the shutter is not forced open longer (such as in typical flash situations), only the bright light from the flash will be captured by the photo, while all the ambient lighting will disappear since the shutter didn’t stay long enough to capture them. This is what leads to the dreaded flash look that’s very artificial and sterile. I’ll recommend a camera app that has additional flash functions later.
If you don’t mind extra hardware, there are two mobile LED flashes that have been successfully kickstarted, and they offer a lot of flexibility that will give you a lot of control over your flash. Here are the links to the two products (I will likely buy at least one of them soon, and when I get it and test it, I’ll probably write a review for it.):
Nova: the wireless flash for iPhone & Android
iblazr – The LED Flash for Smartphones and Tablets
The main thing to remember about flash, is to think of it as a complement to the existing lighting in your scene instead of dominating them and washing everything out. And if you’re going to use the flash as your main light source, try to diffuse it and bounce it off of a nearby surface such as a wall or ceiling, or car, or window–anything can work (but keep in mind if the surface has a distinct color, the bounced flash will take on that color cast and become a colored light source). If you have to point the flash directly at the subject, then try and reduce the power of the flash to match the ambiance of the environment.
I should probably mention something about reflectors when talking about flash photography, although I’m not going to go into detail, since that’s beyond the scope of this article and a bit more advanced (though I might write a separate article one day focused on advanced photography techniques). Basically, you use reflectors to fill in shadows or as secondary light sources similar to how you’d use flashes, except reflectors don’t generate light by itself and must reflect existing light. Here’s an example that used a reflector to bounce the setting’s sun’s light onto the subject’s face:
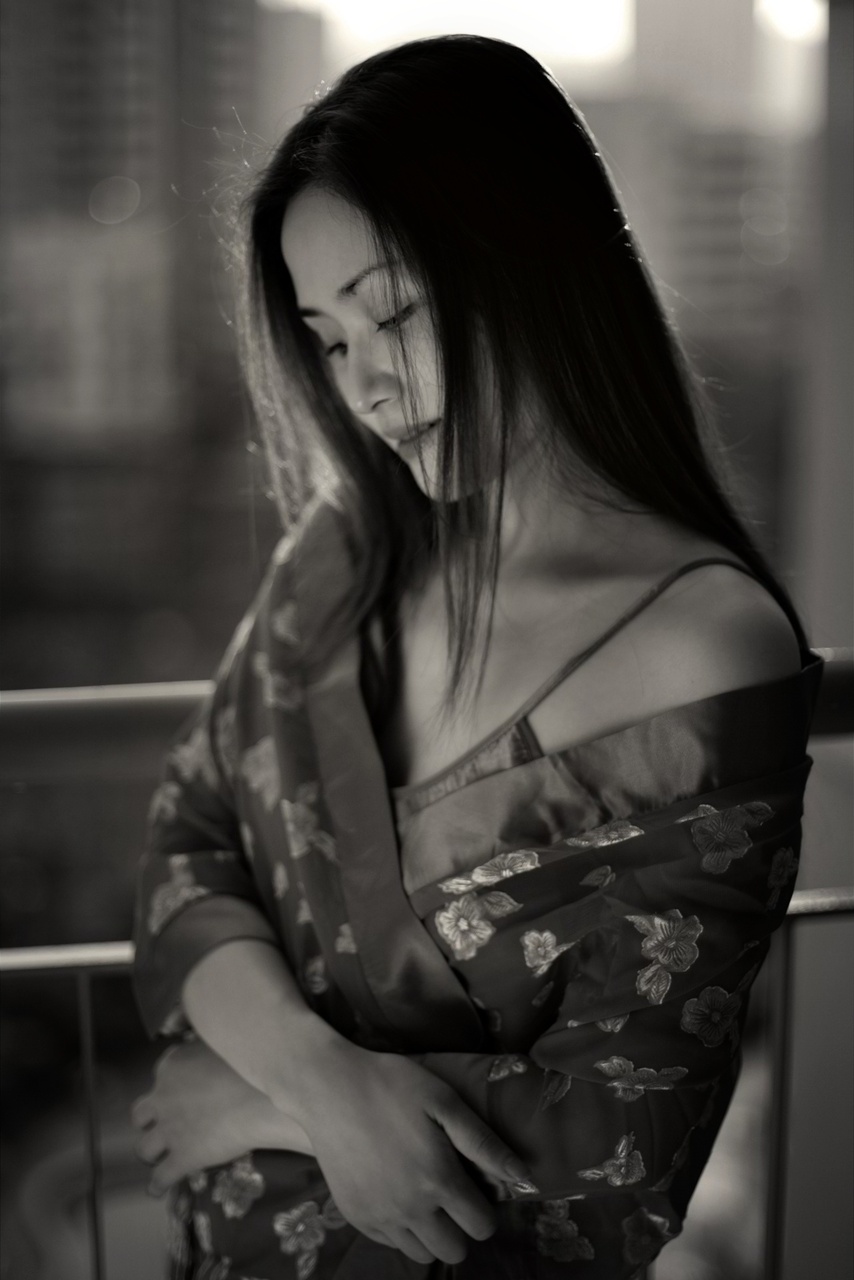
You can buy folding reflectors or even make them yourself (with cardboard and paint it white or silver, or use aluminum foil). When you use flashes and reflectors together, you create even more flexibility, since you can bounce the flash off the reflector (I have used this technique often in the past). A portable light of any kind can be used with a reflector in the same way.
And that concludes my basic technical and artistic tips for taking better photos, no matter what type of camera you are using. If you are hungry for more advanced tips on photography, I suggest you take it to google and search for them, or get a nice book or two on photography, studio lighting, and digital darkroom techniques from Amazon. If you want to learn specific approaches to a particular style of photography, there are also books focused on just photography for fashion, products, landscapes, portraits, etc. If you prefer web videos, Youtube and Vimeo have lots of photography instruction videos for all levels of photographers.
Photography has been one of the great joys of my life. It can be a form of artistic expression, a recording medium of precious memories, a documentation method for important information, and a different way for you look at the world we live in. I hope my tips will help you no matter how you choose to use your camera, and for what purpose.
If you are interested in Galaxy Note 3’s camera test and camera app recommendations, here’s part 2 of the article:
Part 2 – Samsung Galaxy Note 3’s camera test & recommendations for best Android camera apps
Here’s part 1, in case you missed it:
Hello there I’m taking a forensics class and for the next few weeks I’m having to take different types of photos and email them in. I have the note 3 and have the app Camera FV-5. My assignment for this week is: The idea is to capture a single item of evidence as a crime scene photographer would while applying the information learned. You can practice taking multiple photos but will be required to ultimately submit only four photographs, featuring the following: 1) Overall, 2) Reference or contextual photo, 3) Close up without scale, and 4) Close up with scale. I can take anything I want, can you help me out, seeing that I am a true amateur when it comes to photos and cameras. email address is aces30us@yahoo.com
@Tavaras – Have you taken the photos yet? Go ahead and take the photos first, and when you run into problems, show me what the problems are and I’ll help you troubleshoot them. If you try and follow the tips I gave in the article, you should be able to take photos that are good enough for your class assignment.
ok I will start doing that now
ok when i take a photo magazine for example lying on the floor with pretty good lighting. When I zoom in on the photo that I have taken the words on the front of the magazine looks blurry, how do I fix this with FV-5, I would have posted them but dont know what email to send them
Have you checked the shutter speed and ISO settings against the tips I gave? What were the settings? Do you know how to look at EXIF data of a photo? You can even use Explorer (if you’re using Windows) and right-click on the photo, click Properties, then Details. There are free software you can download that reads EXIF too–just google for them. You can also use gallery/photo apps on your Note 3 and look at the details of the photo’s settings too.
To email me, just use any of the emails I listed in the FAQ/Contact section of my website.
Sir thanks for the valuable information.
Pls guide me which camera to buy for best photography automatically according to the place and time.
Thanks
Is there proper training facility in Delhi for the use of camera..If yes where?
Do you mean fully automatic modes such as iA or program mode? If so, just about all the entry level and mid-level cameras have them. Specifically, you want a camera that has in iA mode, which stands for “Intelligent Automatic.” The “buyer’s guide” at dpreview.com has excellent guidance on what camera to buy for different levels of photographers ranging from total beginners to advanced.
But you need to understand that automatic modes are not always ideal, because a machine cannot make creative decisions and it often makes the wrong decision, so if you want full creative control over your photography, you have to learn how to use the modes that allow you partial or total control.
No idea–you’ll have to do some detective work on your own.